You’re fixing boards or taping and jointing on site. To get your dry lining NVQ, you need to show that you can carry out the required work safely and correctly.
Your assessor checks your practical skills and understanding. You also build a portfolio: a collection of evidence showing your work.
Which Dry Lining NVQ Route Do You Need?
The Level 2 NVQ Diploma in Interior Systems includes separate routes for fixing and finishing.
Fixing: installing dry lining systems and plasterboard linings.
Finishing: finishing dry lining walls and ceilings, including taping and jointing.
Choose the NVQ Level 2 dry lining route that matches your work. Our dry lining qualifications page explains your options.
How Does On-Site Dry Lining NVQ Assessment Work?
First, you and your assessor plan which jobs can show your skills. You continue working on site, with assessment arranged around suitable tasks.
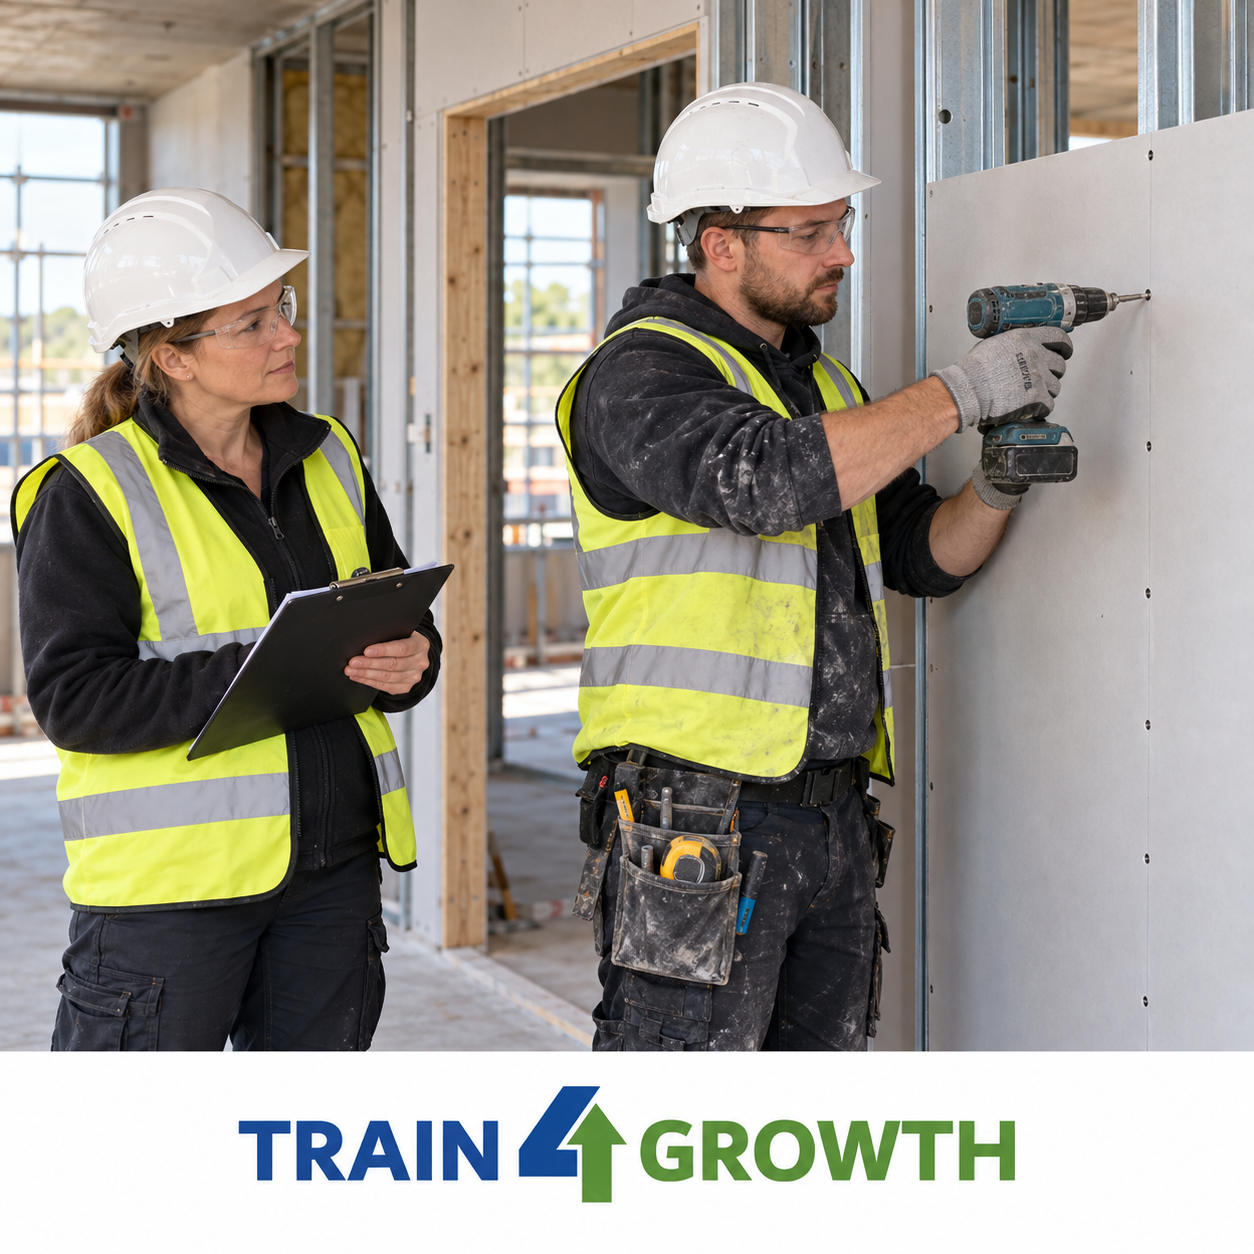
Your assessor watches you work and asks questions. You might explain why you chose particular materials, how you worked safely or how you checked quality.
This conversation is often called a “professional discussion”. It means talking through your work.
You also provide supporting evidence. Your assessor checks it and tells you what you still need to demonstrate. You don’t need to attend regular classroom lessons for the NVQ.
What Evidence Do You Need for Your Dry Lining NVQ Portfolio?
Your dry lining NVQ evidence requirements depend on the route you take. Your assessor will explain which tasks you must demonstrate and what evidence to collect.
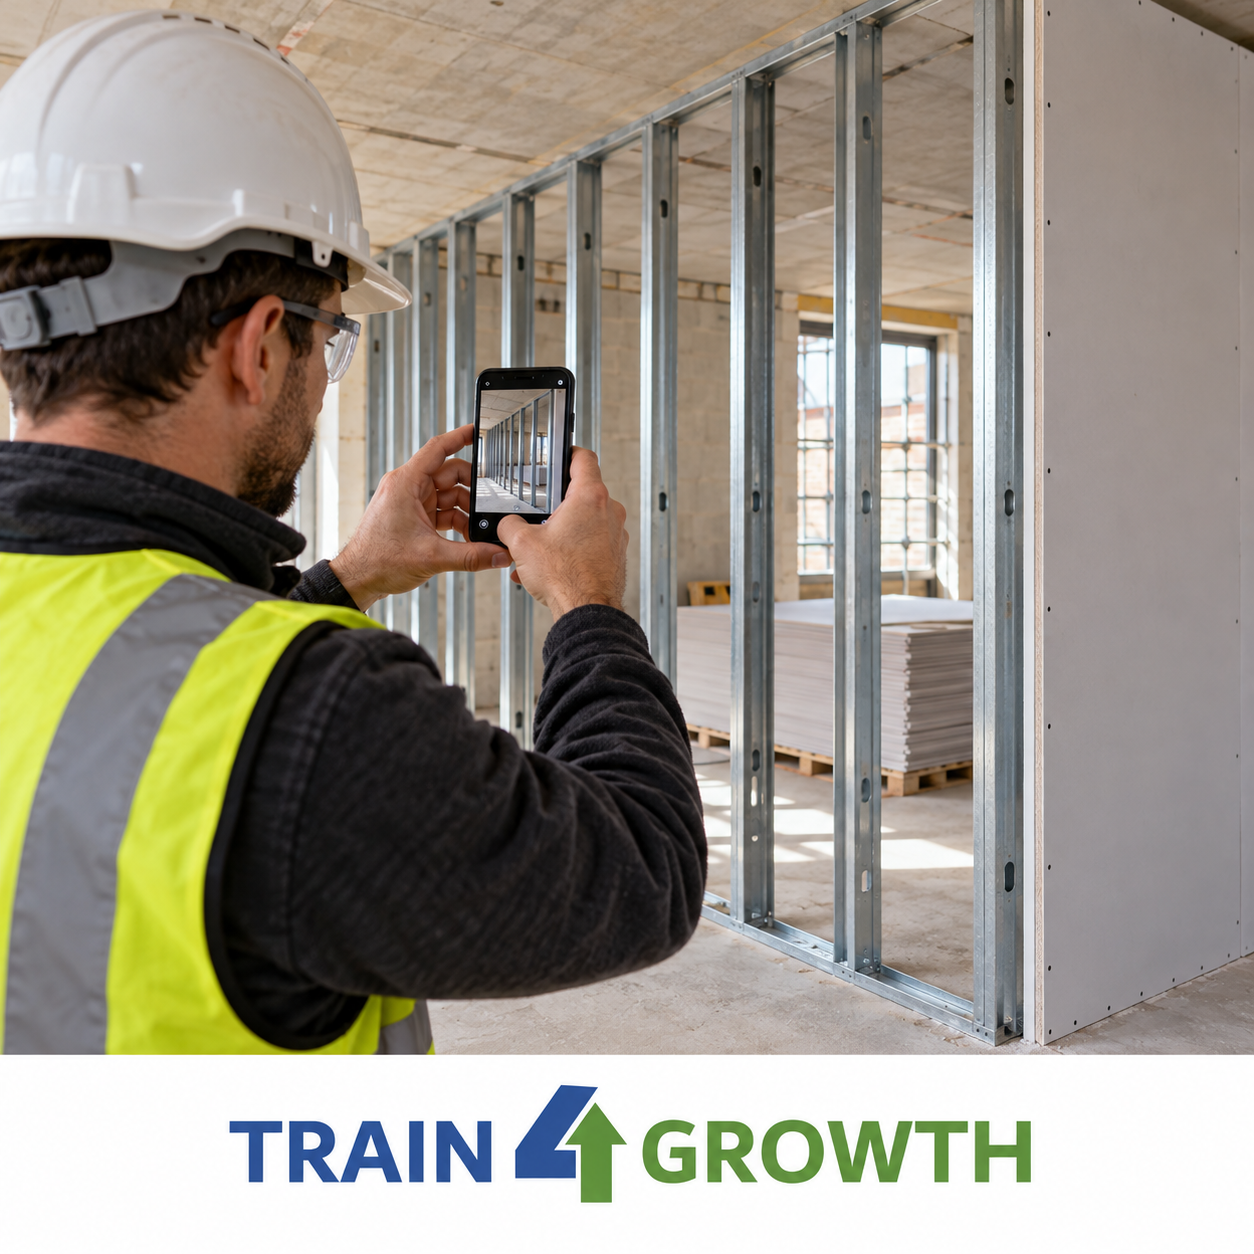
Alongside observations and discussions, evidence can include photos, videos, relevant job records and statements from a supervisor who has seen your work.
If you’re a fixer installing a partition, useful evidence could include photos of the framework before you board it, details of board fixing and the drawing you followed.
If you’re a finisher, useful photos could show joint preparation, treatment of joints and corners, and the surface ready for decoration.
Your assessor also needs evidence of safe working and correct handling of materials, as well as the finished result.
Agree photo requirements with your assessor before starting. Follow your site’s rules about photography. Capture important stages before they are covered.
Record the job, date and what you personally did. If several people worked on the installation, make your contribution clear.
Photos support assessment, but they cannot prove everything alone. If you submit a drawing or instructions, explain how you used them in your work.
How Can You Prepare and Fill Gaps in Your Evidence?
You need access to relevant site work. Tell your assessor what jobs are coming up and arrange permission for them to visit.
If you work for yourself or move between sites, explain that when planning assessment. Ask your assessor to check older photos and records before relying on them.
If your current job does not include a required task, discuss suitable jobs where you can demonstrate it. You still need to show all the required skills.
If reading or writing is difficult, say so early. Your assessor can explain what support and assessment options are available.

How Long Does a Dry Lining NVQ Take?
There is no single completion time for every dry liner. It depends on the work available, the tasks you can demonstrate and how quickly you provide suitable evidence.
Ask T4G for an estimate based on your role and upcoming jobs before you enrol.
Discuss Your Dry Lining NVQ with Train 4 Growth
Tell us whether you fix, finish or do both. We’ll help you check the right route and explain assessment.
Explore our Level 2 Interior Systems NVQ or contact us to discuss your work and get a quote.